


Think a sleep study is a medical mystery with tubes and needles?
It’s not; most studies are painless, last one night, and techs tape simple sensors to record your breathing, heart rate, brain waves, and movement.
Whether you stay in a lab or use a home kit, the night follows a clear path from setup to results.
Read on to learn what each sensor measures, what happens overnight, and the small, testable steps you can try when patterns show up in the recording.
What to Expect Before, During, and After the Test
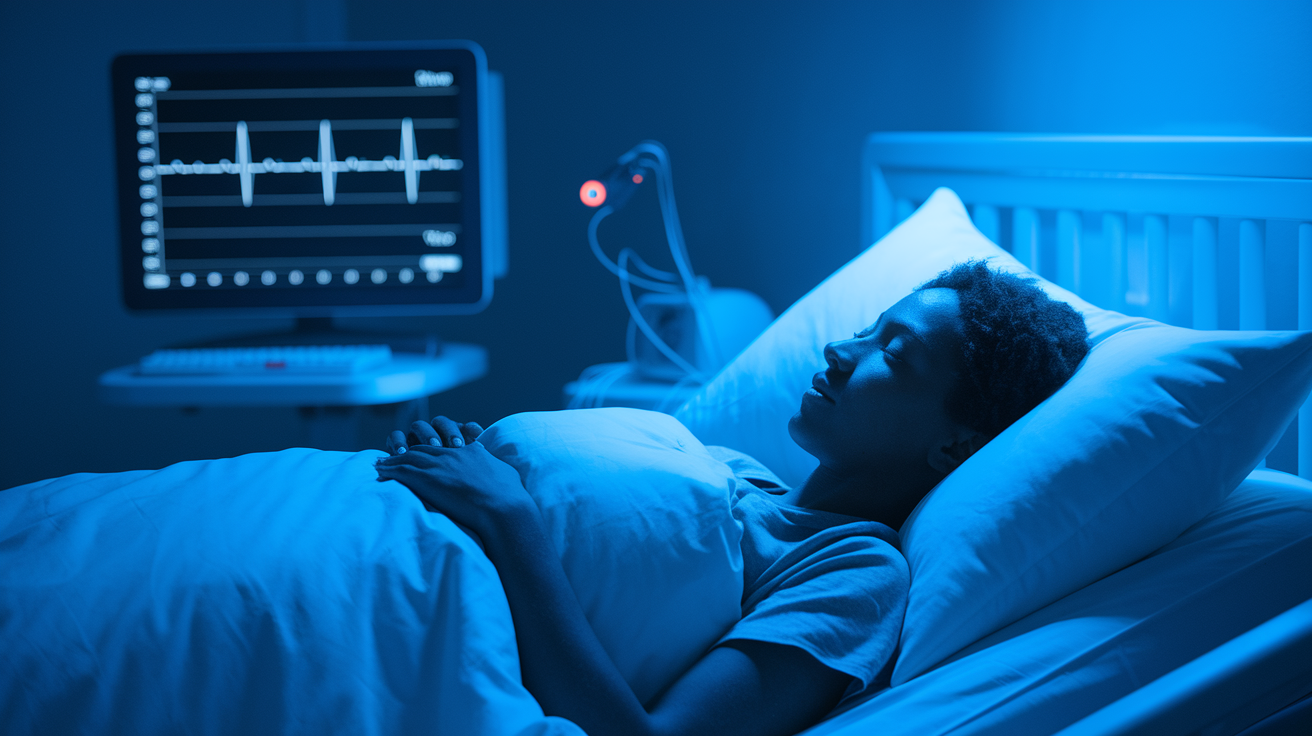
A sleep study doesn’t hurt. No needles, no dye, nothing that goes inside your body. Most sleep studies last one night and just record what your body naturally does while you’re asleep, things like breathing, heart rate, and movement.
There are two main formats here: an overnight stay at a sleep lab, or a take-home kit you use in your own bed. Either way, the process tends to follow the same basic path from start to finish.
- A clinician evaluates the patient’s symptoms and selects an in-lab or home study.
- The patient schedules the test and follows the provider’s preparation instructions.
- Recording equipment is fitted at the laboratory or applied at home before bedtime.
- The equipment collects sleep-related information during the night.
- Sleep professionals review the recording and discuss the findings and possible next steps with the patient.
Once the equipment comes off, or gets packed back up at home, most people go right back to their normal day. No downtime needed. The sections ahead break down what the equipment actually does, what happens overnight, and how results turn into a plan.
Scheduling and Preparing for a Sleep Study
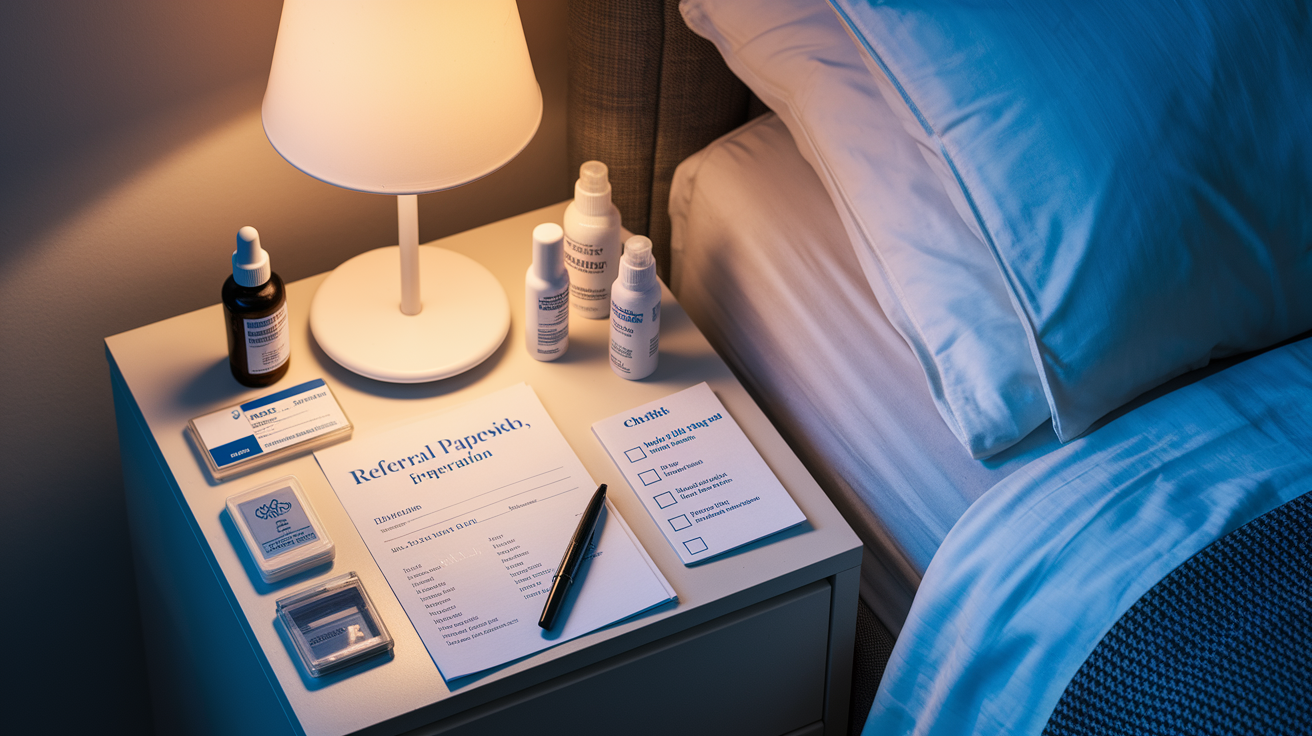
Sleep testing usually starts with a conversation, not a test kit. Loud snoring, gasping awake at night, morning headaches, trouble focusing, or dragging through the day despite a full night in bed, these are common reasons a primary care doctor or sleep specialist orders testing. From there, you’ll typically get referred to a sleep clinic, and if a home test is on the table, a prescription is usually required before the kit can be sent or picked up.
Once scheduled, preparation is mostly about staying close to normal. Keep your usual sleep schedule unless told otherwise, since going to bed unusually early or late can throw off the recording. It’s worth asking the clinic ahead of time whether you need to wash styling products or gel out of your hair, skip nail polish (this can interfere with the oxygen sensor on your finger), or avoid naps on the day of the test.
Caffeine and alcohol rules vary quite a bit from clinic to clinic, so don’t assume whatever you read online applies to your specific test. And here’s an important one: never stop or change a prescription medication on your own before a sleep study. If a clinician wants you to pause or adjust something, that instruction needs to come from them directly.
For an overnight lab visit, pack like you’re staying at a modest hotel for one night. Comfortable sleepwear, basic toiletries, ID, insurance information, a list of current medications, and your own pillow if the clinic allows it, all of that can make the night easier. Check in is commonly in the early evening, with most patients discharged the following morning after the equipment comes off.
Sleep Study Sensors and the Body Signals They Record
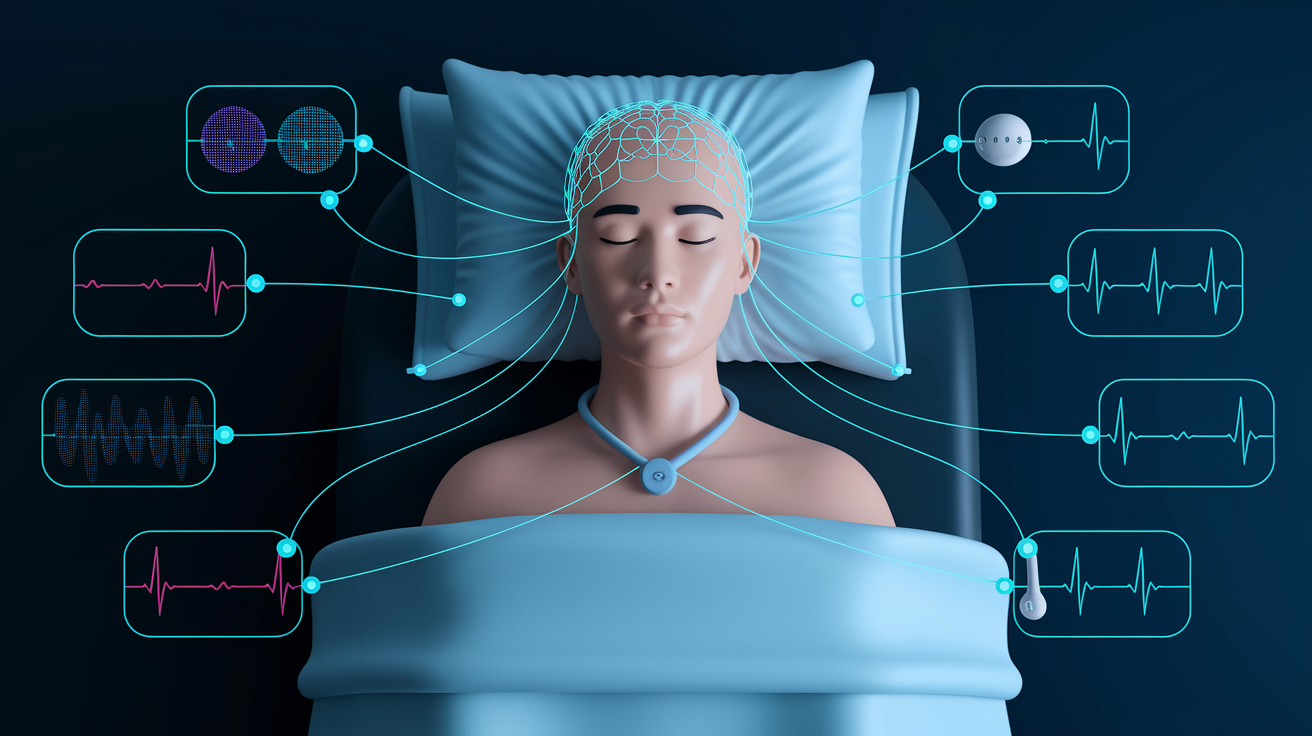
The sensors used in a sleep study don’t send any electrical current into your body. They just listen and record, picking up signals your body is already producing on its own. Where they’re placed and what they track depends on whether you’re doing a full lab study or a simpler home test.
Brain, Eye, and Muscle Sensors
EEG electrodes, small sensors placed on the scalp, pick up brain wave patterns that show whether you’re awake, in light sleep, deep sleep, or REM sleep. EOG sensors sit near the outer corners of the eyes and track eye movement, which is especially useful for spotting REM sleep (the stage where your eyes dart around even though your eyelids stay shut). EMG sensors, often placed on the chin and shins, record muscle activity, since muscle tone drops during REM and certain leg movements can disrupt sleep without you ever fully waking up.
Before any of these go on, the technician cleans the skin first. This helps the conductive paste, adhesive, or tape stick properly and keeps the signal clean throughout the night, according to What is a Sleep Test?.
Breathing, Oxygen, and Heart Sensors
A nasal cannula or airflow sensor sits just under the nose to track breathing patterns breath by breath. Elastic belts around the chest and abdomen measure respiratory effort, meaning how hard your body is working to breathe. A finger clip (pulse oximeter) tracks blood oxygen and pulse, while ECG leads on the chest record heart rhythm. A small microphone picks up snoring, and sensors on the legs and body track movement and sleeping position.
That respiratory effort data matters more than it might seem. It’s what helps clinicians tell the difference between obstructive apnea, where your body is straining to breathe against a blocked airway, and central apnea, where the effort simply stops for a moment.
| Sensor or Monitor | Placement | Signal Recorded | Why It Matters |
|---|---|---|---|
| EEG electrodes | Scalp | Brain wave activity | Identifies sleep stages and wake periods |
| EOG electrodes | Near outer corners of eyes | Eye movement | Helps confirm REM sleep |
| EMG sensors | Chin and shins | Muscle activity | Detects muscle tone changes and leg movements |
| Nasal airflow sensor | Under the nose | Breathing pattern | Flags pauses or reductions in airflow |
| Respiratory effort belts | Chest and abdomen |