



What if your toughest workout today actually slows your progress?
Instead of guessing, check your recovery signals like HRV, resting heart rate, sleep, soreness, mood, and morning performance.
Use a simple 4-step readiness check: compare each to your 7–14 day baseline, rate green/yellow/red, then train as planned, scale back, or rest.
This keeps hard workouts when they help, and prevents wasted effort when you’re worn down.
Think of it like checking your car’s dashboard before a long drive: small checks, smarter choices, better results.
A Quick Readiness Framework for Recovery-Based Training Decisions
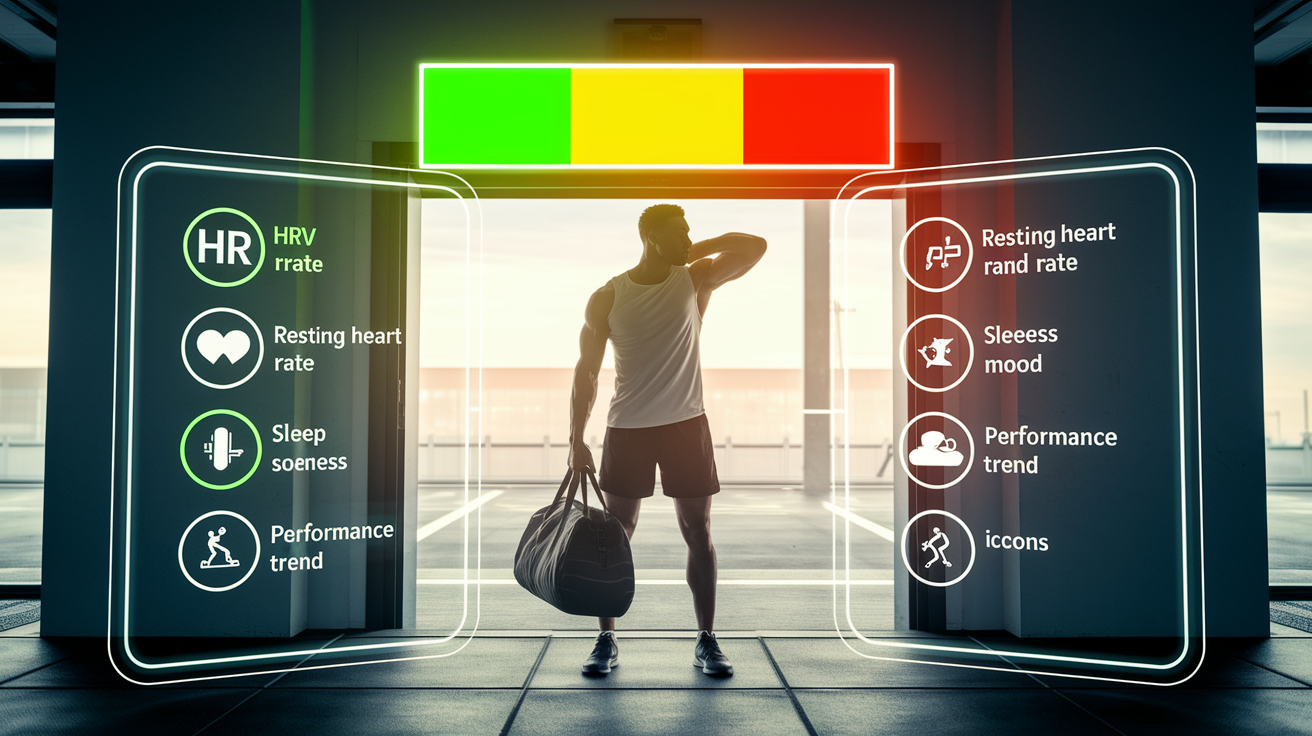
Recovery signals are the measurable changes in your body and mind that show how ready you are to train hard. This includes physical markers like heart rate, sleep numbers, and soreness, plus how motivated or sharp you feel, and how your performance is actually holding up. One odd reading here or there doesn’t mean much. But when several signals point the same direction, that’s worth paying attention to.
This connects directly to balancing training and recovery. Recovery signals aren’t just for today’s workout. They can shape how you plan your whole week or month, too.
Here’s a simple four step flow to turn your morning data into a same day decision:
- Record your morning HRV, resting heart rate, sleep, soreness, mood, and recent performance. Try to do this under the same conditions each day, before coffee or breakfast.
- Compare each reading against your own 7 to 14 day baseline. Your numbers only mean something next to your own history, not someone else’s.
- Classify your readiness as green (no real warning signs), yellow (one mild warning), or red (multiple moderate warnings, one severe deviation, or symptoms that feel serious).
- Based on that zone, either proceed as planned, scale the workout down, swap in active recovery, rest completely, or check in with a healthcare provider.
| Readiness Zone | Decision Band | Training Decision | Example Modification |
|---|---|---|---|
| Green | No meaningful warnings | Train as planned | Proceed with scheduled session, no changes needed |
| Yellow | One mild warning | Scale intensity or volume down | 5×5 at 85% 1RM becomes 3×5 at 70%, or cut session length 20 to 40% |
| Red | Multiple moderate warnings, one severe deviation, or serious symptoms | Active recovery, rest, or medical check | Replace intervals with 20 to 30 minutes of easy movement, or skip training entirely |
One thing worth saying clearly: fever, a racing or irregular heartbeat, feeling faint, chest symptoms, or significant pain always override a good wearable score. If any of those show up, pause training and get checked out rather than trusting the numbers on your wrist.
Pros and Cons of Using Recovery Signals to Guide Training

Recovery monitoring, often called autoregulation, works best when you combine objective numbers like HRV and resting heart rate with how you actually feel, your sleep, soreness, and motivation. A percent change from your own baseline tells you far more than comparing your HRV to a teammate’s. And decisions made from 3 to 7 day trends tend to hold up better than reactions to a single morning, since travel, hydration, timing, alcohol, illness, and even device glitches can throw off one reading.
There’s real upside here:
- Earlier identification of fatigue trends before they become a bigger problem
- More precise intensity and volume changes instead of guessing
- Better communication between athlete and coach, since you’re both looking at the same data
- Reduced dependence on rigid one size fits all programming that ignores how you’re actually doing
But it’s not perfect. A few limitations worth keeping in mind:
- Consumer device estimates can vary quite a bit between brands and even day to day
- Single readings may create false alarms that send you chasing a problem that isn’t really there
- Excessive monitoring can increase anxiety, which ironically hurts recovery
- Metrics cannot diagnose illness, injury, overtraining syndrome, or RED-S on their own
The best approach usually keeps things simple. Pick a small, repeatable set of signals and check them consistently. Unless the evidence clearly points toward a change, stick with your original plan. Chasing every blip tends to create more noise than clarity.
For the full breakdown of how to tell normal muscle soreness apart from something that might need more attention, the subjective recovery signals section covers that in detail.
Objective Recovery Signals: HRV, Resting Heart Rate, and Sleep
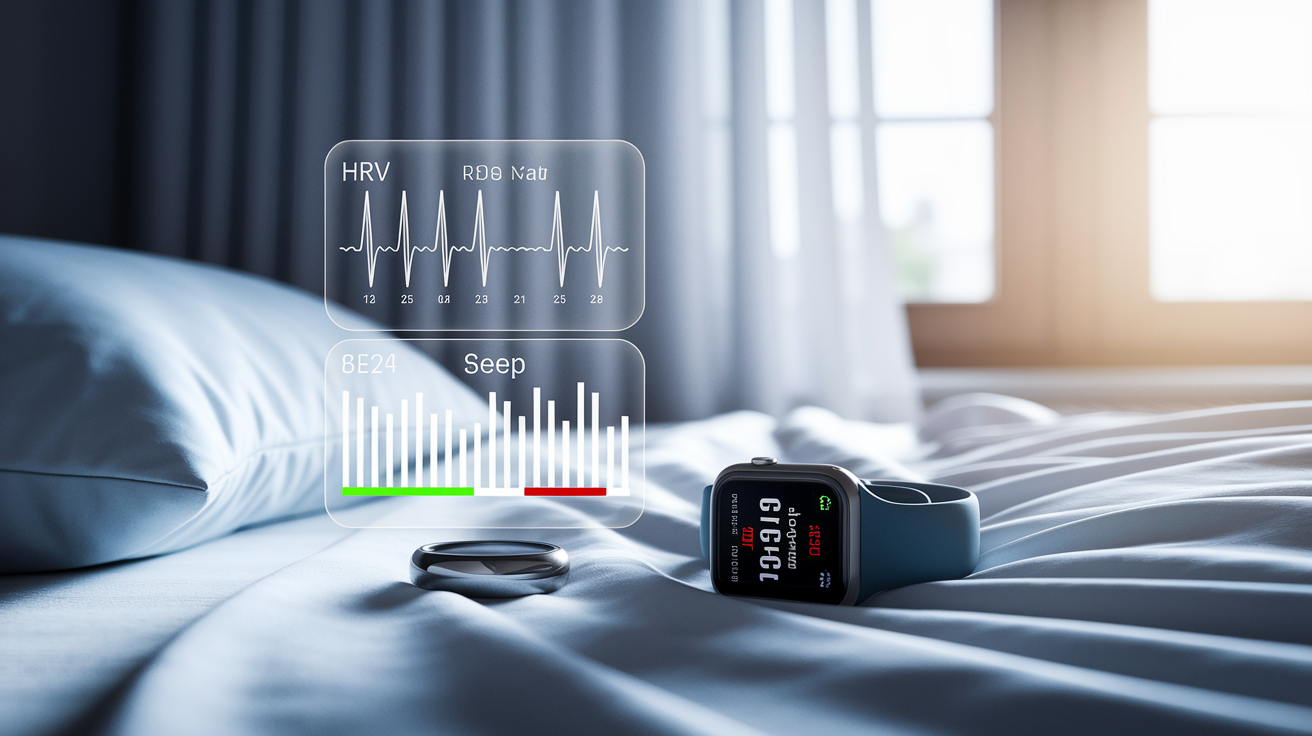
Heart rate variability, or HRV, measures the tiny variations in time between each heartbeat. A higher HRV generally suggests your nervous system is relaxed and recovered, while a dropping HRV often signals accumulating stress or fatigue. To use it well, build a baseline over 7 to 14 consecutive days, then track a rolling 7 to 28 day average. A drop of 8 to 10% from your baseline suggests a mild adjustment is worth considering. A drop of 10 to 20% supports switching to active recovery or technical work. Anything beyond a 20% drop supports a rest day and a meaningful cut to that week’s training load. What matters here is your own relative change, not how your number compares to anyone else’s, since HRV varies enormously between individuals.
Resting heart rate (RHR) is simpler to measure but still useful. It’s your heart rate first thing in the morning, before you’ve moved much or had caffeine. An increase of 3 to 5 beats per minute above your baseline is a mild signal. A 6 to 10 bpm increase is moderate and worth acting on. More than 10 bpm above baseline, especially alongside fever like symptoms, is a serious signal that calls for a full stop rather than a scaled down session.
Sleep rounds out the trio. Most athletes do best with 7 to 9 hours a night, and repeated nights under 7 hours tend to show up in worse recovery scores and flatter performance. If you’re sleeping less than 6 hours, or your sleep efficiency drops below 85%, that supports cutting training volume until
Final Words
Use your morning HRV, resting heart rate, sleep, soreness, mood, and a quick performance check to choose today’s plan with the green, yellow, red readiness framework. Green means go. Yellow means reduce intensity 10–20% or volume 10–30%. Red means active recovery, rest, or medical review for severe symptoms.
We covered objective and subjective signals, the 4-step decision flow, RIR scaling, active-recovery and deload guidance, and edge cases like illness.
Start with a 7–14 day baseline, test small changes, and reassess, this is how to adjust training based on recovery signals and keep steady progress.
FAQ
Q: How to speed up recovery after weight training?
A: Speeding up recovery after weight training involves prioritizing sleep, eating protein soon after, staying hydrated, doing 20-30 minutes of easy movement, light mobility, and reducing next-session intensity if soreness or poor morning readiness persists.
Q: What are the four R’s of recovery?
A: The four R’s of recovery are rest, refuel (eat protein and carbs), rehydrate (replace fluids and electrolytes), and repair or restore through sleep and gentle mobility to support tissue healing.
Q: What is the 3-3-3 rule for running?
A: The 3-3-3 rule for running is a simple guardrail: change only one training variable at a time, make small progressions, and wait about three sessions or three weeks to judge the response before advancing.
Q: What is stage 3 overtraining syndrome?
A: Stage 3 overtraining syndrome is the severe phase marked by prolonged performance decline, constant fatigue, sleep and mood disturbance, appetite or hormonal changes, and recovery that may take weeks to months—seek medical advice.